


### Blog Post:
Peel and stick decor is a fast and flexible way to update your home without the mess, hassle, or cost of traditional renovations. Whether you rent or own, it’s possible to transform walls, furniture, or floors in an afternoon.
Key Takeaways
- Peel and stick decor offers an affordable, non-permanent solution for updating your space.
- Following the right steps prevents bubbles, peeling, or damage to surfaces.
- Understand your surfaces and product quality to avoid common frustrations.
The Core Concept
Peel and stick decor is a category of self-adhesive products designed for easy home updates. Popular options include removable wallpaper, floor tiles, and backsplash sheets. The main reason for their popularity is simplicity. With peel and stick, you skip messy glues or professional installers—just measure, peel, and apply.
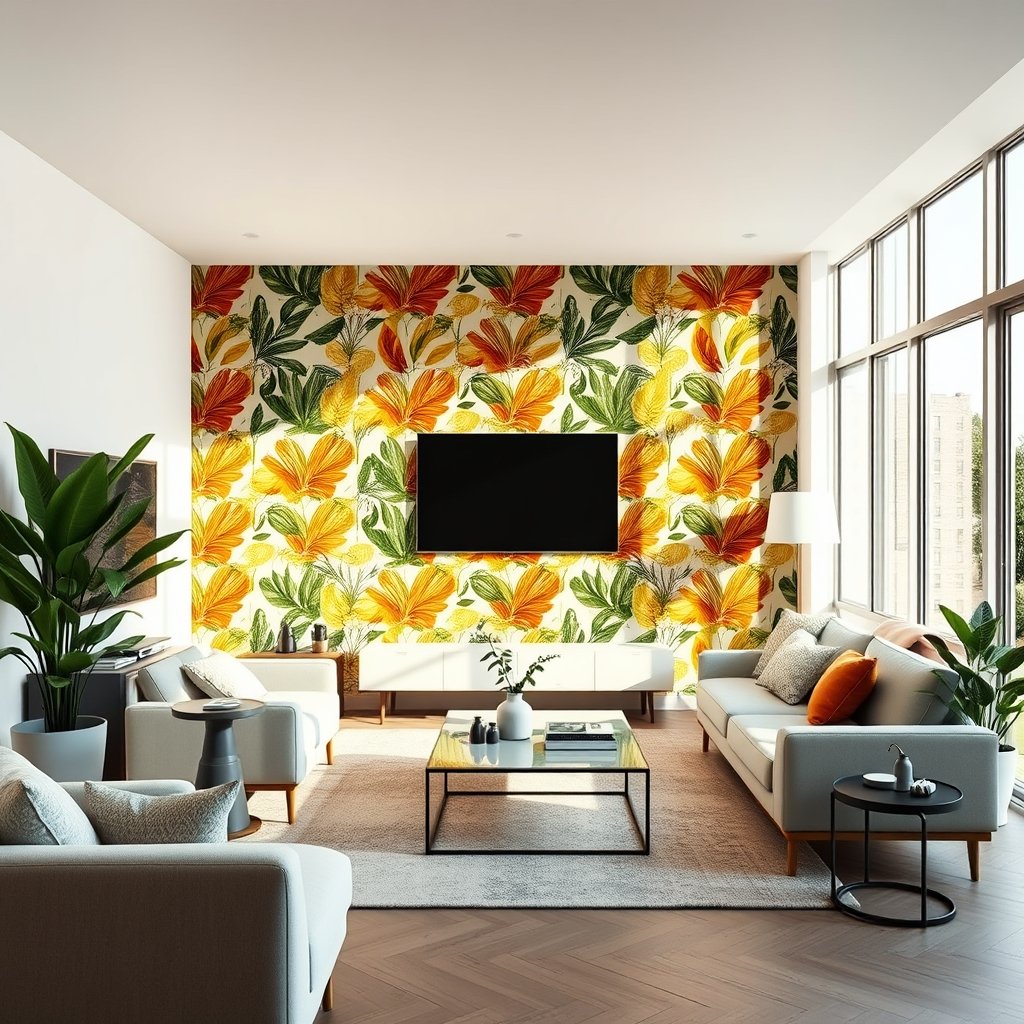
This option is ideal for renters who can’t make permanent changes or for anyone who likes to change their look often. Most products can be removed without damaging the underlying surface. However, it’s important to check for compatibility with your surface, such as painted walls, textured surfaces, or delicate finishes.
Quality varies widely. Some products look and feel high-end, while others can peel or bubble after a few months. Doing your research, reading reviews of peel and stick wallpaper, and understanding each product’s limitations will save you time and frustration.
Compared to traditional vinyl or wallpaper, peel and stick is more forgiving but can have issues with longevity or room humidity. To get a professional look, take your time with prep and application.
If you want to get creative, try peel and stick backsplashes for kitchens, removable tile for small bathrooms, or even customize furniture pieces. For more inspiration, see our guide on DIY decor ideas.
Step-by-Step Guide
Ready to get started? Here’s how to apply peel and stick decor for seamless, lasting results.
- Choose Your Material
Select a high-quality peel and stick product suited to your space. Check if it’s rated for humidity, heat, or direct sunlight if needed. - Prep the Surface
Clean your wall, tile, or furniture with gentle soap and water, then dry thoroughly. Avoid cleaning sprays with moisturizers or waxes. Even small particles or oils can prevent proper adhesion. - Measure Twice, Cut Once
Use a tape measure and mark out your cuts on the backing paper. It’s safer to trim slightly large rather than too small. - Peel & Apply
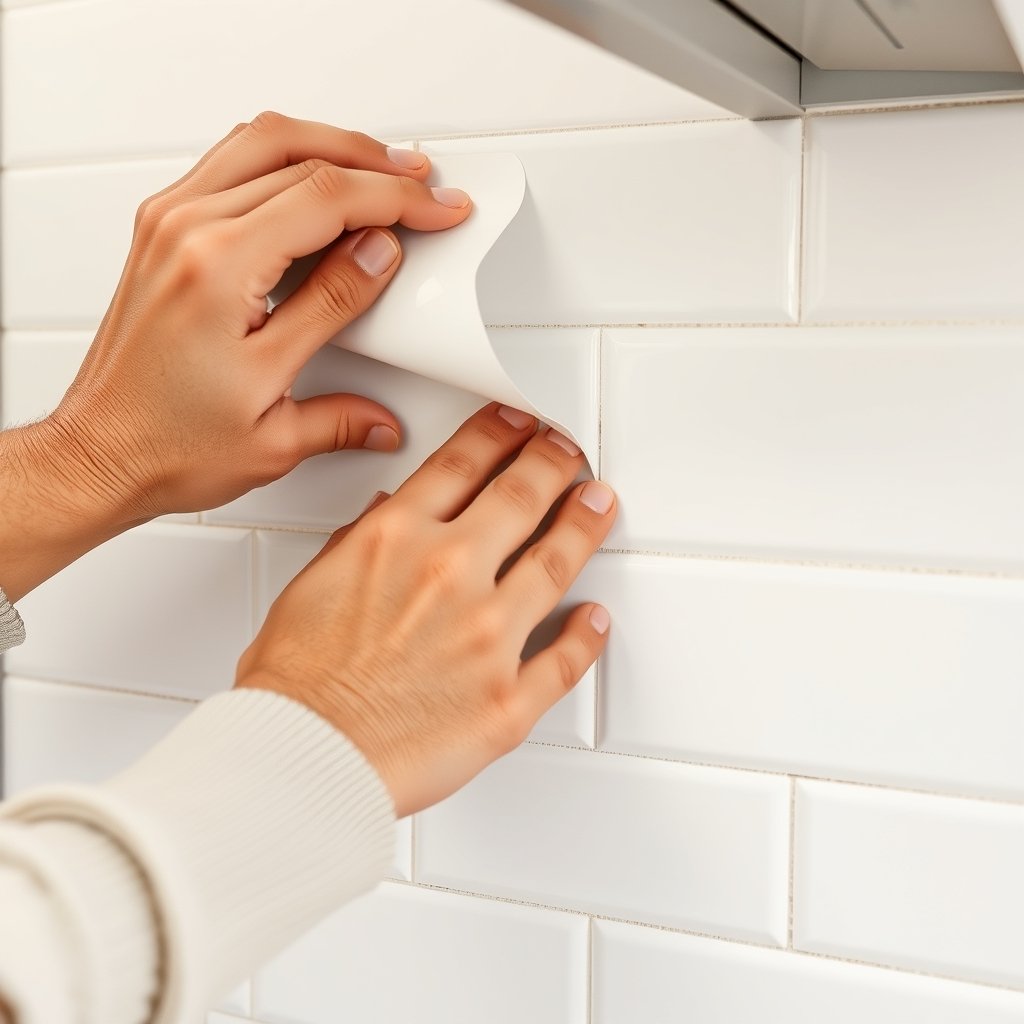
Starting from one edge, peel away a few inches of the backing at a time. Press the exposed adhesive onto your surface, working slowly to avoid air bubbles. Use a smoothing tool or a credit card to ensure a flat finish. - Finishing Touches
Trim the edges with a sharp utility knife for a neat look. Check edges and corners—press firmly, especially in high-traffic zones.
To avoid common mistakes, don’t rush. Allow adequate time and have all tools handy before starting. If working with large panels, consider enlisting a second pair of hands.
For more room-specific guidance, check our peel and stick bathroom tile guide or see the Architectural Digest primer on peel and stick wallpaper.
Some brands offer free samples—use these to test for color match and adhesion before committing to a large project. Save your leftover scraps for creative wall decor hacks or to patch any future damage.
Advanced Analysis & Common Pitfalls
While peel and stick decor is user-friendly, it’s not foolproof. Here are some realistic problems to expect and how to address them:
- Poor Adhesion: Happens when the underlying surface is dirty, glossy, or textured. Some products aren’t suitable for brick, cement, or heavily textured paint.
- Peeling Edges: High humidity or frequent touching may lead to corners lifting. In bathrooms, steam can impact durability.
- Bubbles & Wrinkles: Rushing the application or working over large areas without smoothing tools often leads to trapped air.
- Color Fading: Direct sunlight can cause lower-quality prints to fade within months.
- Damage Upon Removal: Some adhesive formulas can lift paint or leave residue, especially on older or poorly prepped walls.
Making an informed product choice is essential. Check the label for “removable” or “repositionable” if you are renting. Look for independent product ratings for durability and true removability.
Let’s break down how peel and stick compares to traditional alternatives:
| Feature | Peel and Stick Decor | Traditional Wallpaper/Tile |
|---|---|---|
| Installation Time | Quick (hours) | Long (days) |
| Tools Required | Minimal | Specialized (paste, grout, etc.) |
| Permanence | Removable | Semi-permanent |
| Cost | Lower | Higher |
| Surface Suitability | Smooth, clean | Various, after prep |
| Potential Damage | Low, but possible | High (upon removal) |
For expert reviews on which brands survive real life, head over to Real Simple’s comparison of top peel-and-stick brands.
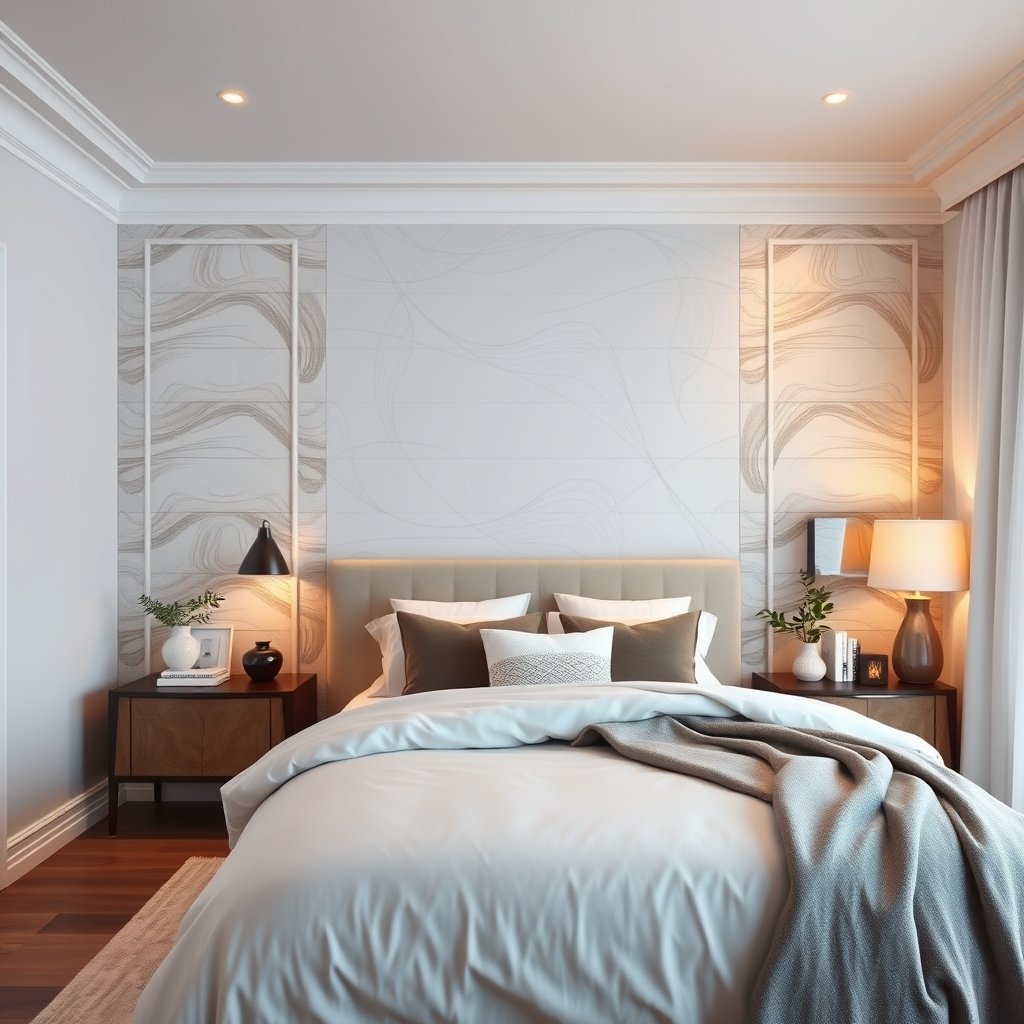
If you find peeling, bubbling, or color issues, check our removable wallpaper troubleshooting guide for solutions. If appearance is critical, test a small area first before full installation.
Conclusion
Peel and stick decor makes it simple to refresh your space without commitment, but success depends on prep, patience, and choosing quality materials. Weigh the pros and cons, and follow our step-by-step guide for best results. Looking for more peel and stick decor inspiration? Browse our makeover gallery and get started today.
FAQ Section
Will peel and stick decor damage my walls?
If applied to a properly prepped surface, most peel and stick products are designed to remove cleanly. However, on poorly painted or old walls, some minor damage or residue is possible. Test in an inconspicuous spot first.
Can I use peel and stick decor in bathrooms or kitchens?
Yes, but check for products rated as moisture- or heat-resistant. High humidity areas like bathrooms can shorten the lifespan, especially for lower-cost options. Always follow the manufacturer’s instructions.
How do I fix air bubbles after installation?
Use a pin to carefully puncture the bubble, then smooth out the air with a soft cloth or squeegee. Prevention is better—apply slowly and use a smoothing tool from the start.
Is peel and stick decor reusable?
Some premium products can be removed and repositioned a few times, but most are not designed for repeated use. Adhesion declines with each removal.
What surfaces can’t I use peel and stick decor on?
It rarely works on porous, rough, or dusty surfaces. Avoid brick, raw cement, heavily textured paint, or surfaces recently cleaned with oil-based products.