


### Blog Post:
Peel and stick decor offers a smart, simple way to refresh your space without paint, drills, or lengthy renovations. Whether you live in a rental or just want fast style updates, this approach promises quick results—with a few potential downsides savvy shoppers should know.
Key Takeaways
- Peel and stick decor provides an easy, renter-friendly alternative to permanent home updates.
- Following surface preparation and smart application techniques is critical for a lasting finish.
- Some materials, textures, and climate conditions can limit adhesion or cause premature damage.
The Core Concept: What Is Peel and Stick Decor and Why Does It Matter?
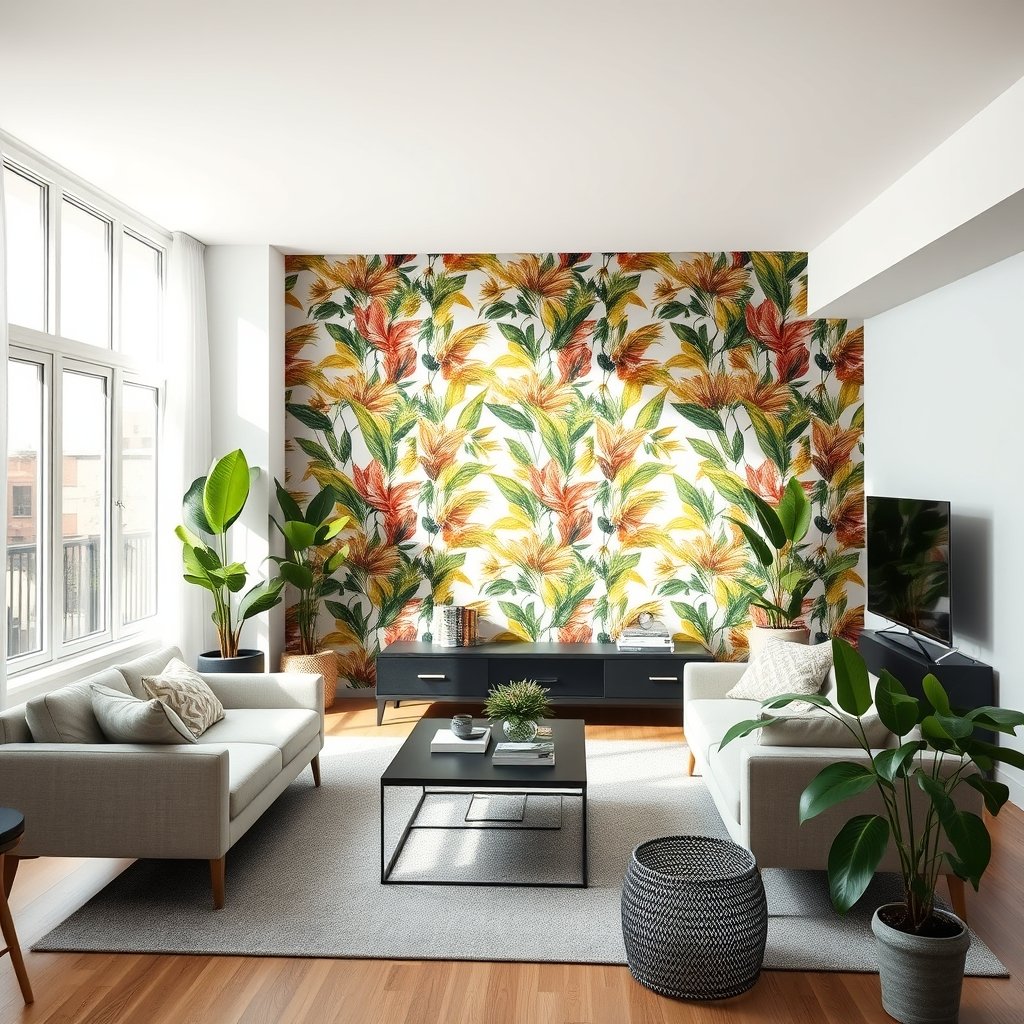
Peel and stick decor refers to self-adhesive decorative materials like wallpaper, tiles, and decals. These products stick directly onto surfaces such as walls, backsplashes, furniture, or even floors without the need for glue or nails. People are flocking to this trend because it turns home upgrades into a weekend project.
What’s the appeal? Rentals and older homes often restrict traditional decorating. Peel and stick decor, such as removable wallpaper and easy DIY home decor options, welcomes everyone to make bold design changes quickly. Most importantly, when you move out or change your mind, removal takes only a few minutes and generally leaves no residue behind. That flexibility is a top advantage. Still, knowing the pros and cons ahead of time ensures a smoother experience.
Step-by-Step Guide: How to Apply Peel and Stick Decor
Ready to get started? Here’s a practical walkthrough to help you install peel and stick decor that looks polished and lasts longer. Whether you’re installing removable backsplashes or refreshing a dresser, preparation is the key.
- Measure the Area: Use a ruler or measuring tape to map the dimensions of your surface. Order 10 percent extra in case of errors or defects.
- Clean the Surface: Dust, oil, or even minor wall texture can stop the adhesive from working. Wipe with a damp cloth and let it dry completely.
- Test a Small Spot: Before covering the full area, apply a sample. See if it sticks well and checks for any residue after removal.
- Plan Your Pattern: For wallpaper or tile, plan how edges or seams will line up. Draw gentle guidelines in pencil if necessary.
- Peel and Position Slowly: Peel back a few inches of the backing. Press gently, smoothing bubbles from the center toward the edges as you go. Use a squeegee or plastic card for help.
- Trim the Excess: Use a craft knife or scissors to carefully trim edges, outlets, or corners.
- Tidy Up: Step back and double-check seams. Smooth out any imperfections right away—a soft cloth or credit card can help.
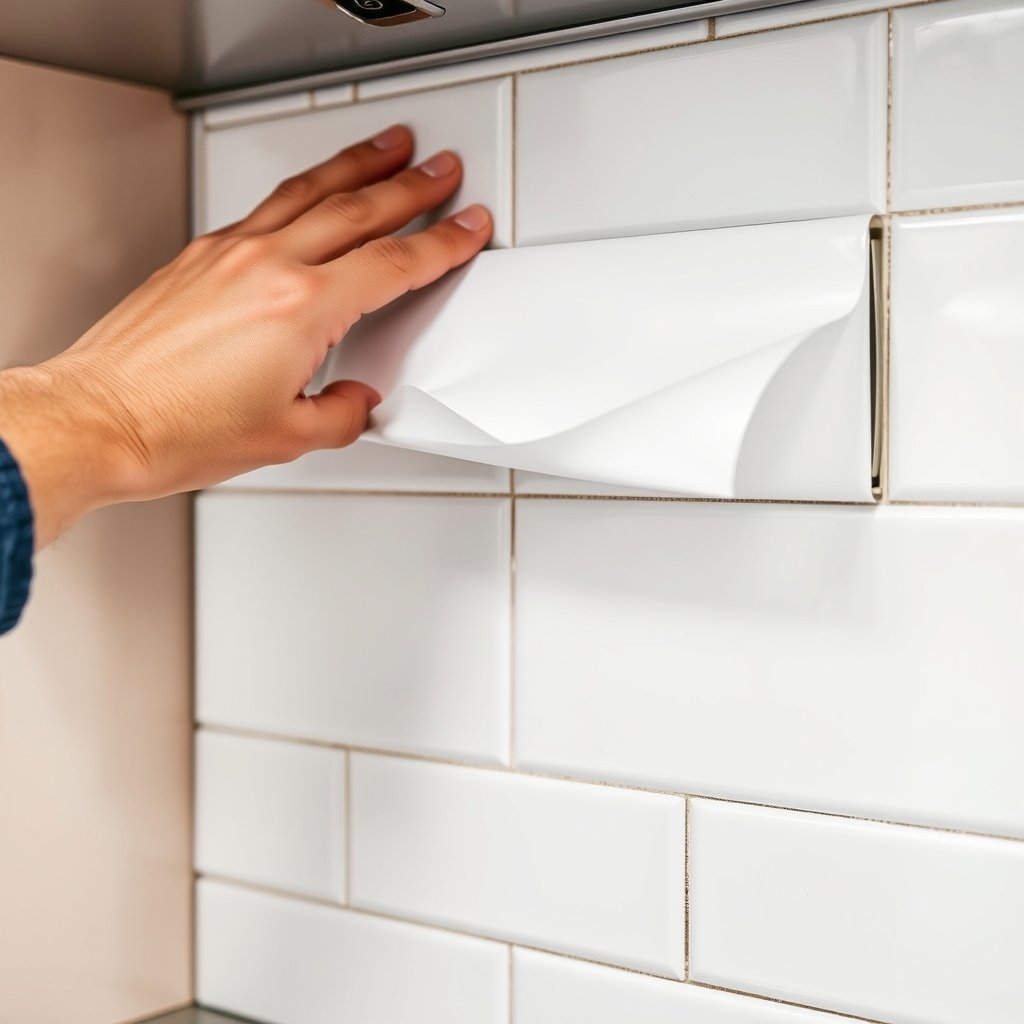
If mistakes happen, many decals and wallpapers can be gently lifted and repositioned before full adhesion. This is especially true for high-quality brands (more on that in the pitfalls section below). For renters or frequent redecorators, choosing brands that mention clean removability is essential. For backsplash or kitchen use, confirm your product is water- and heat-resistant. Details like these mean fewer surprises later.
Want even more creative ideas? Don’t miss our guide on unexpected ways you can use peel and stick decor for everything from stair risers to appliances.
Advanced Analysis & Common Pitfalls
While peel and stick decor is easy to love, it comes with a few common issues. Picking the wrong type for your surface, skipping prep, or misunderstanding manufacturer claims can set you back both time and money. Let’s break down the most frequent pitfalls:
| Issue | What to Watch Out For | How to Solve |
|---|---|---|
| Poor Adhesion | Walls with high texture or old paint; surfaces that are dusty, oily, or humid. | Clean and dry the area; use a product compatible with your wall type. Avoid using on rough plaster or brick. |
| Bubbling and Peeling | Trapped air, uneven pressure, or temperature changes. | Apply slowly and use a squeegee throughout; if bubbling, use a pin trick as mentioned above. |
| Damage on Removal | Cheap adhesives can peel off paint or leave residue, especially on weak or old walls. | Test on a hidden spot first; prioritize reputable brands and check reviews like those on The Spruce. |
| Tiles Coming Loose in Damp Areas | Humidity or splash zones in kitchens and bathrooms. | Choose certified water-resistant products and confirm with manufacturer specifications such as those on House Beautiful. |
| Limited Longevity | Lower quality options may fade or stain quickly, particularly near windows or in high-traffic spots. | Pay attention to UV resistance and warranty information provided by brands. See comparisons on Architectural Digest. |
For more tips on avoiding these missteps, read our article on top mistakes to avoid with peel and stick decor, and help keep your decorative updates frustration-free.
Conclusion
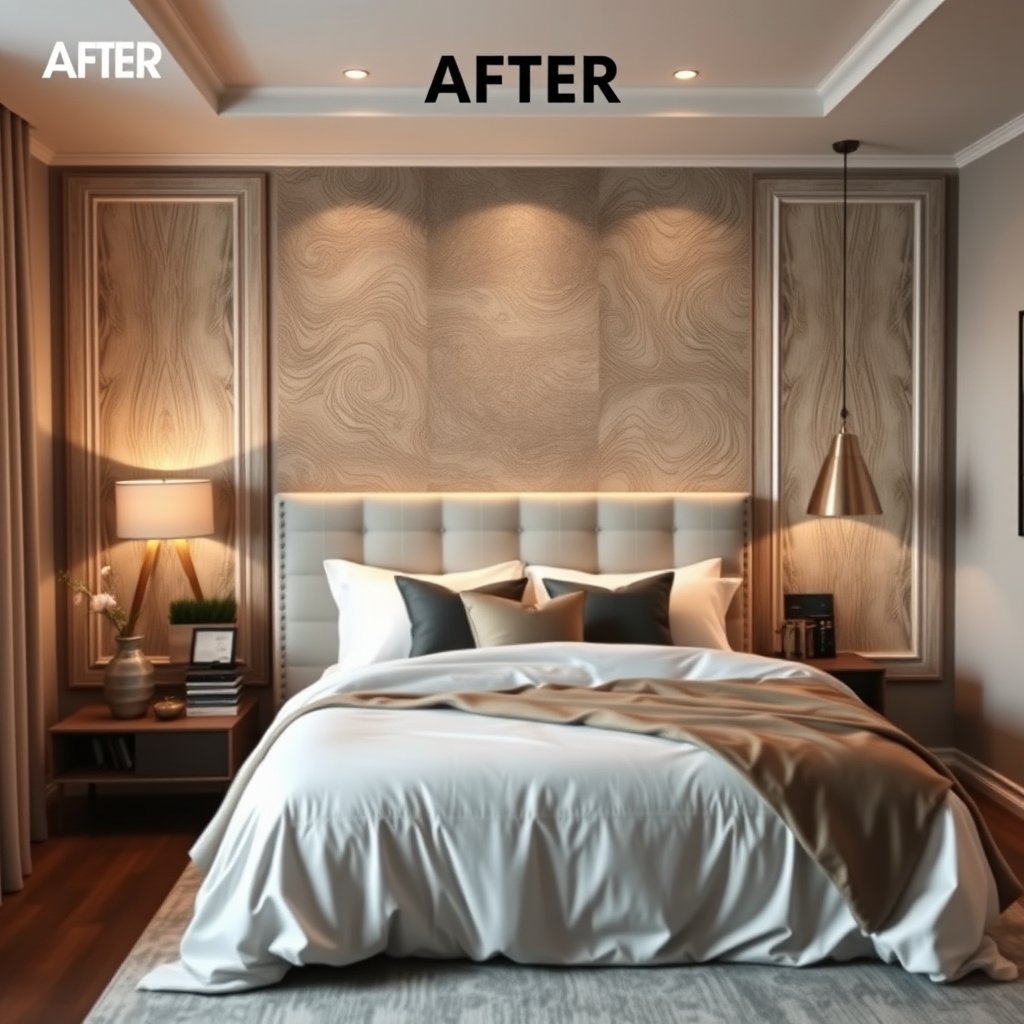
Peel and stick decor opens the door to creative home updates, especially for renters and DIY fans. By properly preparing your surface, choosing the right products, and applying carefully, you can enjoy a new look within hours—not weeks. But remember: paying attention to surface prep and reputable brands is just as important as the design itself. If you’re ready to experiment, peel and stick decor could become your favorite home upgrade tool. Try it on a small project first, then move on to bolder ideas—your space will thank you!
Want more inspiration or troubleshooting tips? Visit our detailed guides or check out our contact page for expert help.
FAQ: Peel and Stick Decor
Does peel and stick decor really come off cleanly?
Most quality brands remove without damaging walls, especially if you tested a hidden spot before installing. Older or poorly painted walls are more at risk for minor damage, so always pull gently and slowly.
Can I use peel and stick decor in bathrooms or kitchens?
Yes, but choose certified water- and heat-resistant options. Regular types may peel or bubble from humidity.
How long does peel and stick wallpaper or tile usually last?
With proper prep and good materials, many products last three to five years or longer. Sunlight, cleaning chemicals, and wear can shorten this time frame.
Will it stick to textured or brick walls?
Most don’t stick well to rough surfaces or exposed brick. They’re best on smooth, painted drywall or sealed wood. For tricky surfaces, try a sample first.
What’s the best way to avoid bubbles and seams?
Work slowly, smooth outward as you press it on, and use a squeegee. Align seams tightly but avoid stretching the material.