


### Blog Post:
Peel and stick decor has quickly become a go-to solution for renters, homeowners, and design enthusiasts who want a fast, affordable, and no-commitment way to refresh any space. With a few simple steps, you can bring color, patterns, and personality to walls, furniture, and more—without professional help or permanent changes.
Key Takeaways
- Peel and stick decor is a simple way to update your home with minimal tools and commitment.
- Proper surface prep is key to a flawless finish and long-lasting results.
- Common pitfalls include poor adhesion and tricky removals, but most issues can be avoided with smart choices and careful application.
- What Is Peel and Stick Decor and Why Use It?
- Step-by-Step Guide
- Advanced Analysis & Common Pitfalls
- Conclusion
- FAQ
What Is Peel and Stick Decor and Why Use It?
Peel and stick decor involves using adhesive-backed designs that you can apply directly to surfaces like walls, tiles, countertops, and furniture. Unlike traditional wallpaper or decals, this method is designed for easy application and removal, making it ideal for both temporary and long-term updates. It allows anyone to transform dull spaces quickly, boost visual interest, and personalize rentals—without risking security deposits or requiring special tools.
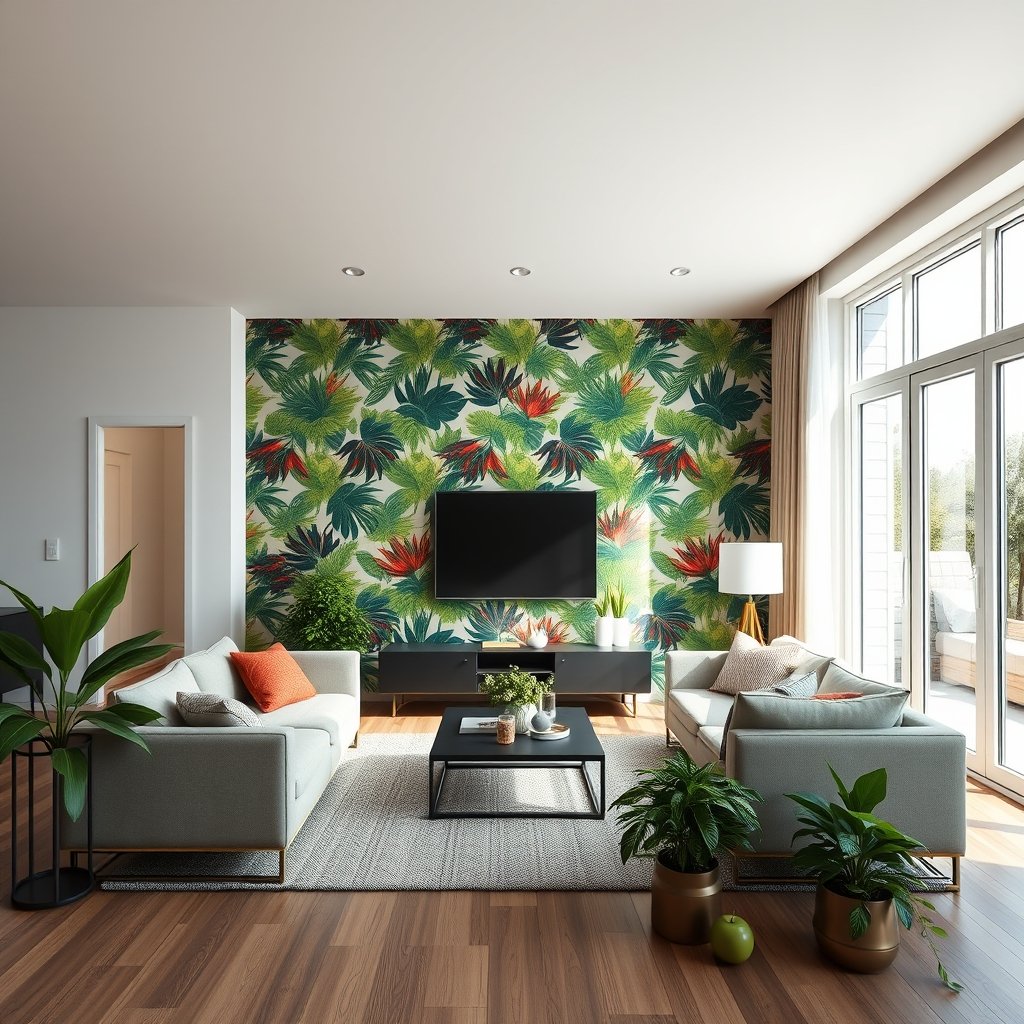
This type of decor is available in various formats, including wall decals, removable wallpapers, backsplash panels, and vinyl wraps for furniture. Whether you want to redecorate your living room walls or breathe new life into a tired kitchen, the possibilities are endless. Plus, most products are repositionable and residue-free, so you can experiment fearlessly. For a full breakdown of types and cost comparisons, see our guide to budget removable decor.
Step-by-Step Guide
Getting started with peel and stick decor is easier than you might think, but good preparation and careful application make all the difference. Follow these steps for a pro-quality finish:
- Choose The Right Product: Not all peel and stick materials are created equal. Make sure to select adhesives designed for your specific surface. For bathrooms and kitchens, look for water-resistant or humidity-friendly options recommended by reputable sources like Apartment Therapy.
- Prep Surfaces: Clean the surface thoroughly with mild soap and water. Pay special attention to dust, grease, or residue which can prevent adhesion. Allow the area to dry completely before application.
- Layout & Measure: Dry-fit pieces before removing the backing. Mark guidelines lightly with a pencil if needed for perfect alignment. Measure twice to avoid wasting material—especially for patterns or repeating designs.
- Peel & Stick: Slowly peel the backing from one edge, aligning your piece, and press it in place as you go. Work from the center outward to prevent creases or bubbles.
- Smooth Edges: Use a squeegee, soft cloth, or an old credit card to press out any trapped air. Pay extra attention to seams and corners where adhesion is weakest.
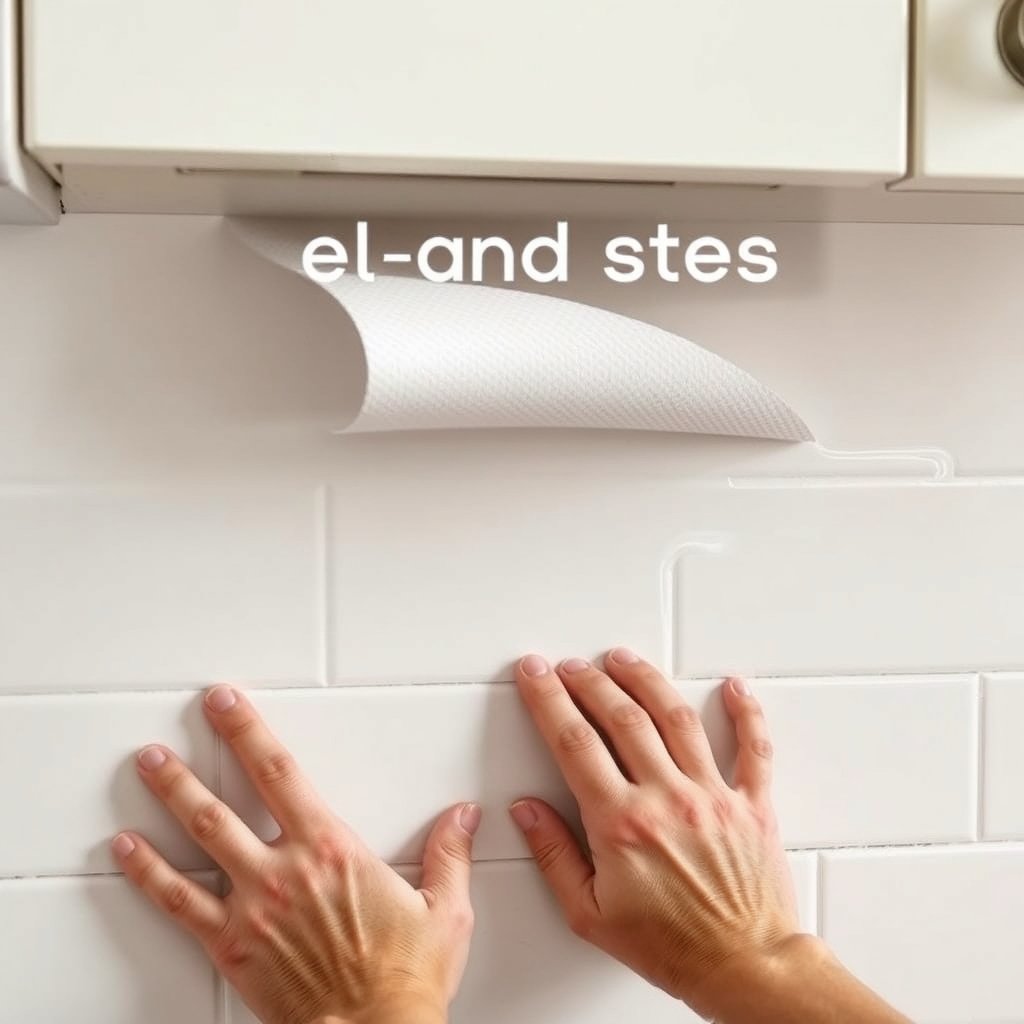
- Troubleshooting: If pieces don’t stick, double-check for surface contaminants, moisture, or old paint. Heavy textures like brick or orange peel are tougher but not impossible — check product specs or our guide on installing on textured walls for best practices.
- Removal: To avoid damage, heat the area with a hairdryer and peel gently at a 45-degree angle. For sticky residue, use a damp cloth or adhesive remover—never harsh abrasives.
If you want to explore creative uses, see our peel and stick vinyl furniture hacks or check out these expert tips on Good Housekeeping.
Advanced Analysis & Common Pitfalls
Peel and stick decor is impressively versatile, but not every application is hassle-free. Many users run into common pitfalls. Here’s what to watch for and how to avoid expensive or frustrating mistakes:
| Common Problem | Cause | Solution |
|---|---|---|
| Peeling edges | Poor surface prep, humidity, or low-quality product | Fully clean and dry the area; consider a sealant strip; choose known, tested brands like those recommended by House Beautiful |
| Bubbles or wrinkles | Incorrect application angle, rushing the process | Apply slowly, work outward from center, and smooth with a squeegee or cloth |
| Color mismatch | Different dye lots or monitor color inaccuracy | Buy extra from the same batch; check samples whenever possible |
| Surface damage during removal | Aged paint, thin drywall, or aggressive adhesive | Warm with hairdryer before lifting; use slow, gentle movements; read our removal safety guide |
| Poor adhesion to textured walls | Surface is too rough for sticker grip | Choose products rated for texture, or apply a smooth lining first |
Some surfaces like brick, cement, or heavily textured paint are challenging even with top products. Moisture and steam (in bathrooms or kitchens) can shorten lifespan if you do not choose the right adhesive. Always check manufacturer recommendations and user reviews before buying. Learn about alternative solutions and compare brands using our removable decor comparison tool.

Conclusion
Peel and stick decor is a smart, affordable way to refresh any space without professional installers or permanent commitment. When used correctly, it delivers stunning results for walls, backsplashes, countertops, and furniture alike. Pay attention to surface prep and product choice to avoid the most common headaches. With a little care, your transformations will look professional and stand the test of time. Ready to get started? Browse our best-rated peel and stick wall decals and find the perfect peel and stick decor for your next room upgrade.
Want more tips like this? Subscribe to our newsletter for regular easy decor tutorials and exclusive discounts.
FAQ
Can peel and stick decor be used on all surfaces?
Not always. Smooth, clean surfaces work best. Highly textured walls, brick, or unsealed wood may not hold the adhesive well.
Will it damage my walls when removed?
If you follow removal guidelines, most products leave no residue or damage. For extra safety, heat the material with a hairdryer and peel slowly.
How long does peel and stick decor last?
Most quality products last from 1 to 5 years, depending on exposure to moisture, heat, and direct sunlight. Kitchens and bathrooms may see shorter lifespans unless specialty products are used.
Can I reposition peel and stick decals after placing them?
Many brands allow for gentle repositioning during installation, but this becomes harder after full adhesion. It’s best to work slowly and double-check placement before sticking the full piece down.
What should I do if my decor starts peeling?
First, press down firmly with a cloth or squeegee. If that fails, use a small amount of removable adhesive or replace the affected section. Surface prep is often the cause of peeling.