


DIY Kitchen Backsplash Ideas are one of the simplest ways to upgrade your space quickly and affordably. Today, both renters and homeowners want kitchen updates that look premium yet don’t require major renovations. This guide covers practical, realistic steps along with smart hacks, honest pitfalls, and advanced analysis from real-world data.
Key Takeaways
- peel and stick backsplashes offer a fast, affordable, and damage-free upgrade for most kitchens.
- Success depends on careful surface prep, choosing quality materials, and avoiding common installation mistakes.
- Renters can enjoy designer looks without breaking the bank or risking their security deposit.
- What Are DIY Kitchen Backsplash Ideas and Why Use Them
- Step-by-Step: How to Install a Peel and Stick Kitchen Backsplash
- Advanced Analysis & Common Pitfalls
- Conclusion
- FAQ
What Are DIY Kitchen Backsplash Ideas and Why Use Them
DIY kitchen backsplash ideas are trending because they solve real problems for people who want an updated kitchen without professional remodeling fees. Peel and stick backsplash tiles, for instance, allow anyone to create a bold, custom look in a single afternoon. They’re perfect for renters who can’t make permanent changes and homeowners on a tight budget who want to see big results for little money. Using these products, you can embrace modern, rustic, or classic designs that reflect your style—no messy grout or special tools needed.
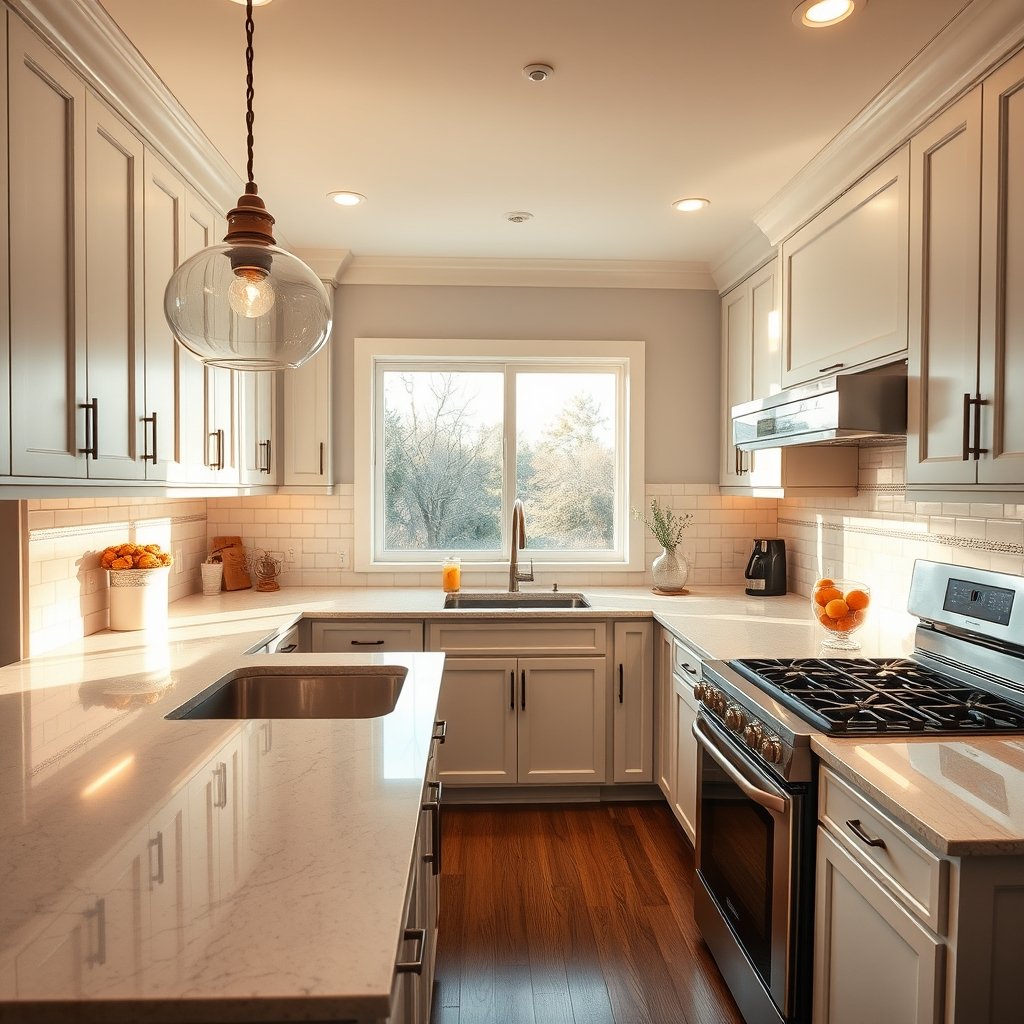
Renters especially love this upgrade because it’s easy to remove when they move. Unlike painted or traditional tile backsplashes, peel and stick options do not damage walls. According to insights from our peel and stick decor guide, the appeal comes from their adaptability and hassle-free installation. While the most common material is vinyl, higher-end versions use stone composites or metallic finishes, giving a more realistic and lasting impression.
If you’re tackling a full kitchen renovation, installing a modern backsplash increases both resale value and kitchen enjoyment. In a budget planning phase? Our post on how much should a 10×10 kitchen remodel cost breaks down how small updates like this can save thousands compared to full renovations.
Step-by-Step: How to Install a Peel and Stick Kitchen Backsplash
Follow these steps for a successful, long-lasting peel and stick backsplash installation:
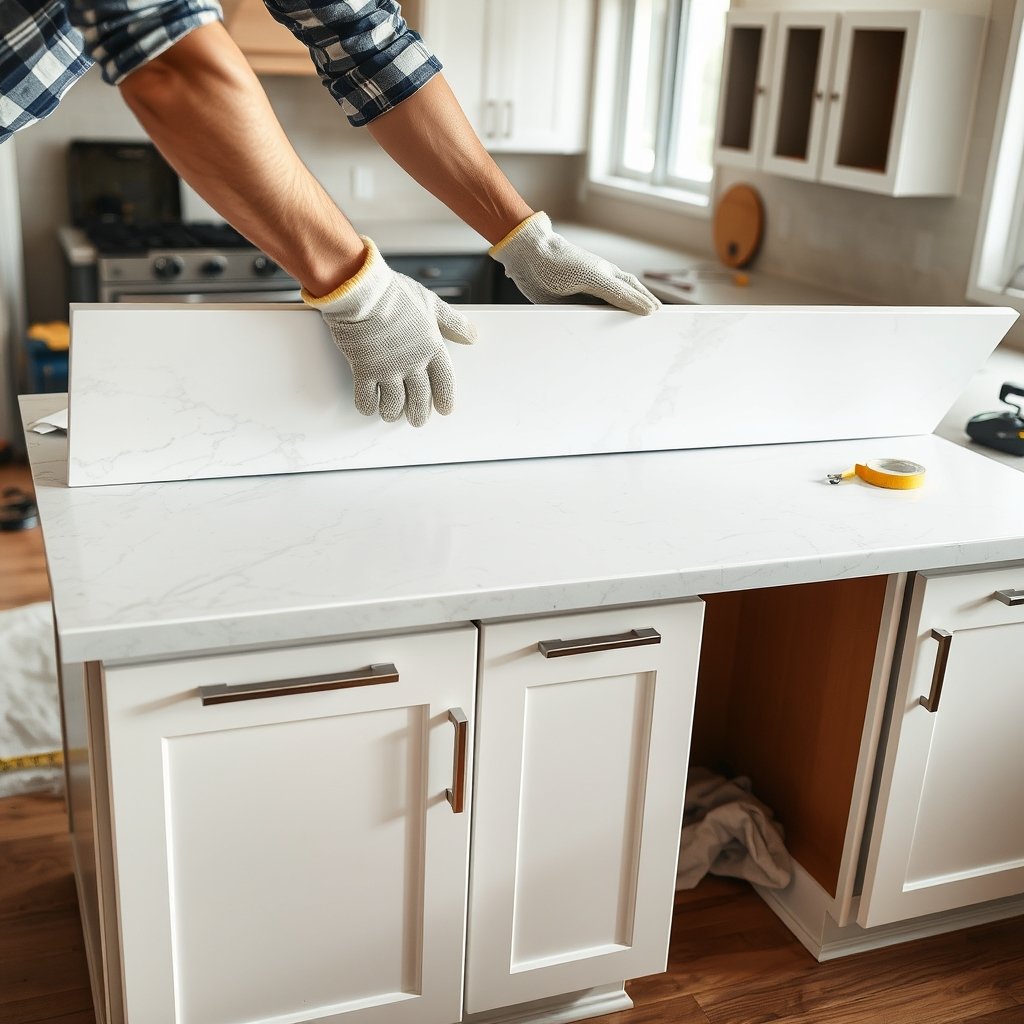
- Measure and Plan Layout: Use a tape measure to check your wall space. Draw layout lines with a level to keep your first row perfectly straight. Dry-fit a few tiles before peeling off the backing to make sure your plan works around outlets.
- Cut to Fit: Use heavy-duty scissors or a utility knife to trim edge tiles. Be precise; slanted or rough edges can show. For tricky areas like outlets, trace and cut out the shape before applying.
- Apply Tiles: Peel the backing and press tiles firmly onto your surface, starting at the bottom center and working outward. Press from the middle outward to push out air. Overlap edges according to package directions.
- Seal Edges (Optional): To keep out moisture, run a thin bead of clear silicone caulk along the bottom and side edges—but only if you’re not in a pure rental scenario where even removable caulk may violate rules.
If stubborn stains or sticky residue build up, avoid bleach. Instead, consider using steam power for deep sanitizing. Our McCulloch MC1385 review of the McCulloch MC1385 Deluxe Canister Steam Cleaner shows how effective steam cleaning is for both tile and vinyl without resorting to harsh chemicals.
Routine cleaning takes just a mild soap and microfiber cloth. Excess scrubbing or harsh chemicals can dull the finish, and using too much water can undermine adhesive over time.
Advanced Analysis & Common Pitfalls
With growing popularity comes a wave of feedback on DIY peel and stick backsplash ideas. Here are real findings from user reviews and market research:
| Issue | Cheap Peel & Stick | Mid-Range Tile | Premium Stone/Vinyl |
|---|---|---|---|
| Adhesion | May peel within months | Last 2-3 years with proper care | Stays up for 5+ years |
| Look & Texture | Glossy, less realistic | Decent faux grout, better texture | Near indistinguishable from real tile |
| Removal | May tear drywall paper | Usually clean removal | No wall damage, designed for rentals |
| Price per Sq. Ft. | $1-2 | $3-6 | $8-15 |
Common pitfalls include:
- Poor surface prep—grease and dust prevent proper adhesion.
- Skipping layout lines, resulting in crooked tiles.
- Buying the cheapest materials, which can yellow or peel rapidly.
- Applying over existing tiles with uneven surfaces. This leaves visible bumps and loose spots.
For anyone concerned with durability or frequent kitchen messes, premium options are the safest bet. Remember that not all peel and stick products are created equal. Many budget-friendly finds look great at first but age poorly. For an in-depth breakdown of renter-safe upgrades and what to expect, check our Peel and Stick Decor Guide.
Some users have improved long-term results by using lightweight multipurpose steamers to occasionally deep-clean surfaces with stubborn residues. If you’re looking for a budget-friendly, chemical-free approach, the McCulloch MC1385 is a top pick. If you’re deep-diving into a full kitchen remodel, don’t miss our breakdown of 10×10 kitchen remodel cost so you can weigh small DIY updates against investing in a full renovation.
Conclusion
Smart, DIY Kitchen Backsplash Ideas deliver immediate impact with minimal mess and commitment. For renters, peel and stick options from reputable brands make legal, beautiful updates possible within hours. Homeowners on a budget will benefit most from mid-range or high-end materials, especially if kitchen mess is a concern. Remember to prep thoroughly and avoid corner-cutting—your stylish backsplash (and security deposit) depends on it.
Ready to start your project? Visit our Peel and Stick Decor Guide Part 2 for even more innovative ideas and troubleshooting tips!
FAQ
Are peel and stick kitchen backsplashes waterproof?
Most commercial peel and stick tiles are water-resistant and safe for kitchen use, but they are not fully waterproof. Avoid direct, constant water contact. Sealing edges with clear caulk helps improve moisture protection.
Is installation renter-friendly and reversible?
Yes, quality peel and stick backsplashes are easy to remove without damaging your walls, making them ideal for renters. Always check your lease and perform a small test removal before covering a large area.
How do I clean my backsplash without damaging it?
Use gentle dish soap and a microfiber cloth. Avoid abrasive scrubbers or harsh chemicals. For deep cleaning, a household steamer like the McCulloch MC1385 is safe and effective for most tiles.
What are the best peel and stick backsplash materials for durability?
Look for premium options such as stone composite, thicker vinyl with “faux grout” textures, or metallic finishes for kitchens with more splashes and heat exposure. Budget options suit low-traffic spaces but age more quickly.
Can I apply peel and stick tiles over existing tiles?
Yes, but only if the original tiles are flat and clean. Any uneven or textured tile will show bumps or reduce adhesion. Scrape off loose grout lines and clean thoroughly before applying.