


### Blog Post:
Peel and stick decor is changing the way people personalize their homes—no mess, no long-term commitment, and no tools required. If you’ve ever wished updating your walls or furniture was less of a hassle, this could be the solution you’ve been looking for.
Key Takeaways
- Peel and stick decor offers a quick, renter-friendly way to update walls, furniture, and more.
- Proper surface preparation and product choice are essential for the best results and long-lasting application.
- Common pitfalls include poor adhesion and tricky removals—follow proven steps to avoid damage.
- What Is Peel and Stick Decor? How Does It Work?
- How to Apply Peel and Stick Decor: Step-by-Step Guide
- Advanced Analysis & Common Pitfalls
- Conclusion
- FAQ
What Is Peel and Stick Decor? How Does It Work?
Peel and stick decor, sometimes called self-adhesive or removable wall art, includes wallpapers, decals, tiles, and even floor pieces. These products are backed with removable adhesive that sticks securely, but can be peeled off with minimal residue.
This approach is popular among renters and busy households. No need for glue, nails, or specialty tools. The transformation is instant, and if styles or moods change, you can remove the decor without damaging most surfaces.
Its appeal goes beyond simplicity—there are designs ranging from minimalistic to bold patterns. If you’re tired of looking at the same blank wall or outdated backsplash, peel and stick decor provides flexibility and creativity without permanence.
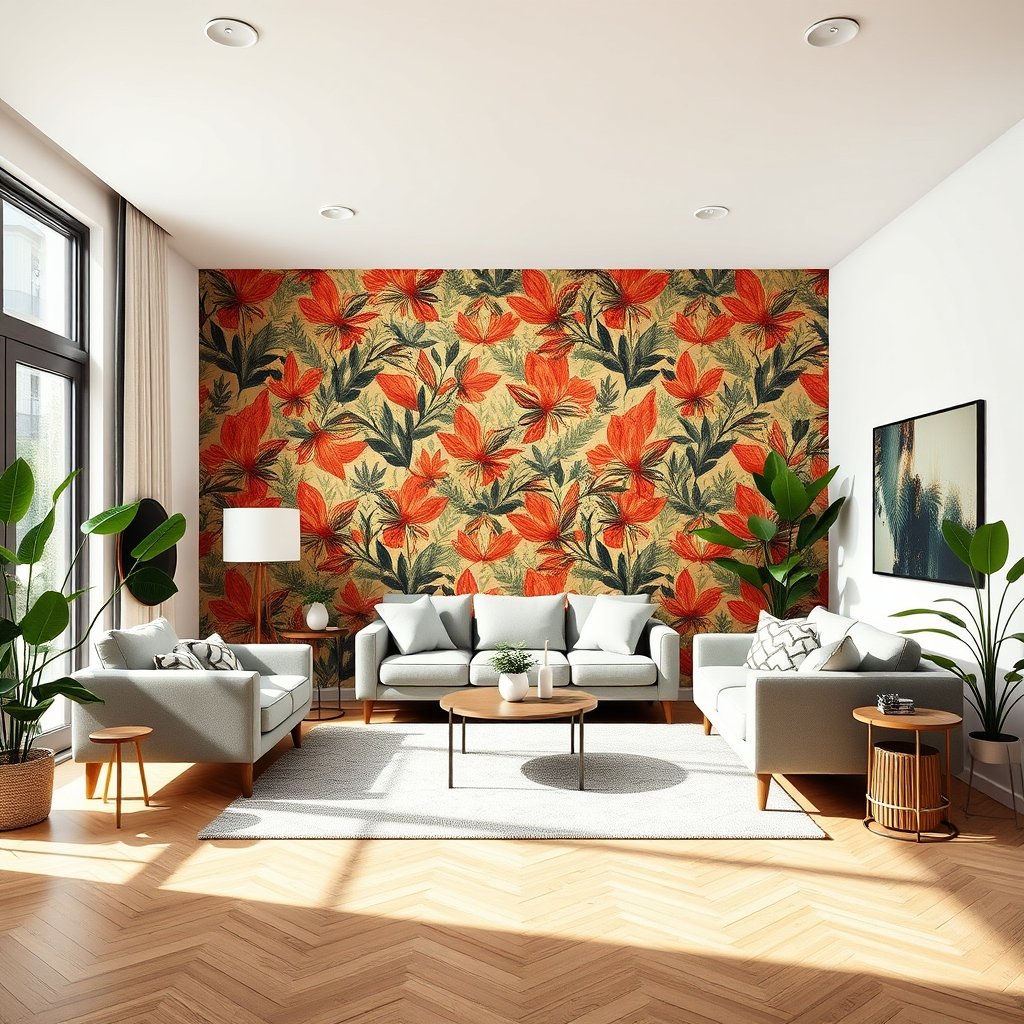
Most peel and stick products can be used on painted drywall, glass, metal, tile, and even some furniture. The adhesive is engineered to hold firm yet release cleanly. When installed and removed as instructed, it is one of the least destructive ways to redecorate.
For those seeking a deeper clean before applying decor, a steam cleaner like the McCulloch MC1385 can help you prep surfaces without harsh chemicals. This ensures the adhesive sticks better.
How to Apply Peel and Stick Decor: Step-by-Step Guide
Applying peel and stick decor seems simple, but following a methodical process ensures the best results. Here’s a clear, actionable approach that works on most surfaces and products:
- Surface Preparation: Clean the surface thoroughly. Remove dust, oils, and residue. For stubborn grime or sticky residue, use a chemical-free multipurpose steamer to lift dirt without damaging paint or finishes.
- Measure and Plan: Measure the installation area. Mark guidelines with a pencil or removable tape to keep things straight.
- Peel and Start at One Edge: Peel off a small section of backing and align the decor with your guideline. Stick from one edge and smooth as you go.
- Smoothing and Removing Bubbles: Use a squeegee or flat object to press decor onto the surface, pushing out any air bubbles. Work slowly and check alignment as you go.
- Trim Excess Material: Use a sharp utility knife or scissors to trim edges where needed. Take your time to get clean, accurate cuts.
- Final Inspection: Check for missed bubbles or loose spots. Press these areas firmly to secure the adhesive.
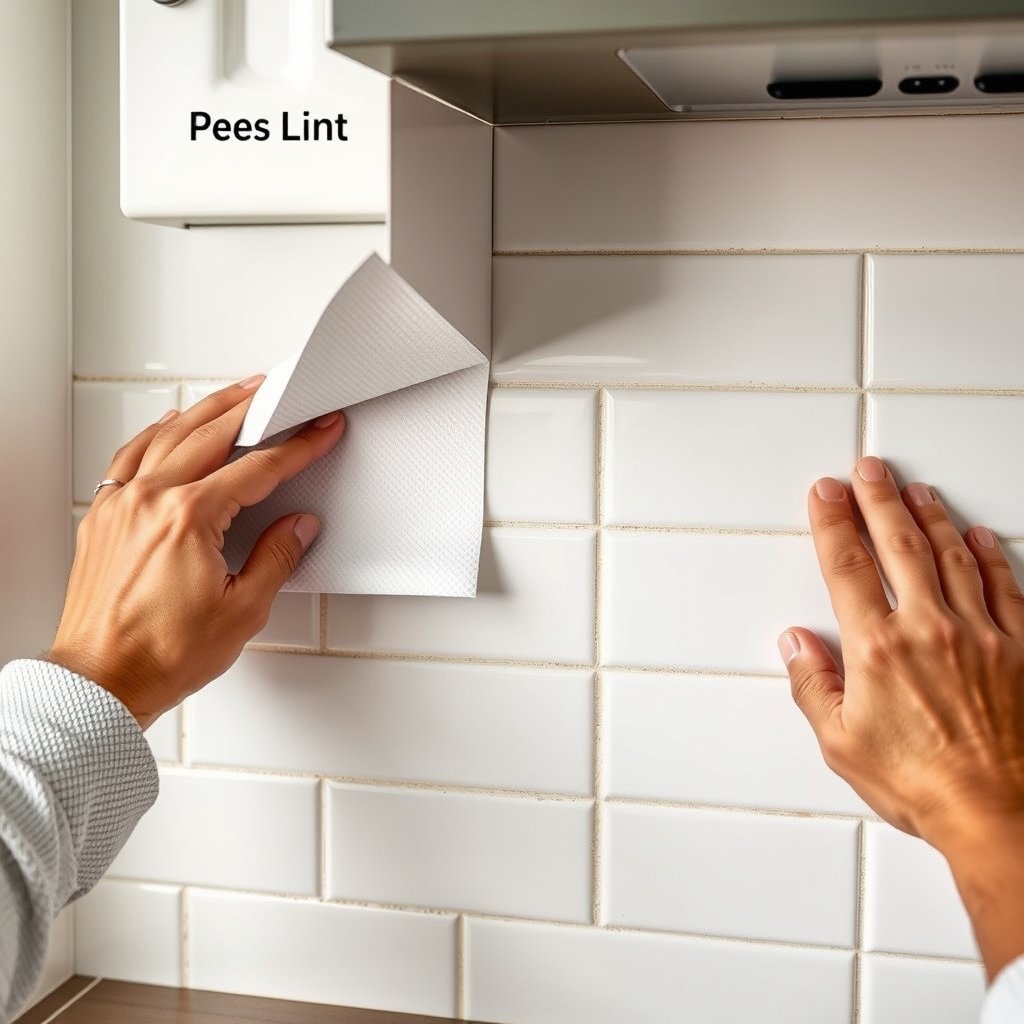
For larger wall areas, tackle the project in smaller sections. Working too quickly can lead to misalignment and large air pockets. If a mistake happens, peel back slowly and reposition—it’s better to do this right away before the adhesive fully sets.
When applying peel and stick decor to kitchen or bathroom surfaces, make sure they’re completely dry. Even minor moisture can affect adhesion, causing lifting at the edges over time.
If you plan to apply decor to furniture, wipe down surfaces with a gentle cleaner first. For deep cleaning, especially sticky residue or old adhesive, a household steam cleaner is highly effective and gentle on most finishes.
Looking for more customization? Layering patterns or mixing tiles and decals can add extra dimension to a space. Just ensure each base layer is properly stuck before adding the next. For tough jobs, like removing old decor or prepping old tile, consider deep cleaning using deep cleaning techniques highlighted here.
Advanced Analysis & Common Pitfalls
No solution is perfect for every scenario. Peel and stick decor can sometimes present challenges, especially on textured or dirty surfaces. Here are the most reported issues—and how to address them.
| Pitfall | What Causes It | How to Fix or Avoid |
|---|---|---|
| Poor Adhesion | Dusty, oily, or highly textured surfaces | Clean thoroughly; consider using a multipurpose steam cleaner like the McCulloch MC1385 for deep prep. |
| Bubbling and Wrinkles | Rushing installation or not smoothing as you go | Apply slowly, use a squeegee, and if needed, gently warm with a hair dryer. |
| Peeling at Edges | Moisture, dust, or loose paint at edges | Make sure area is completely dry; press down edges firmly. If needed, use a wallpaper roller. |
| Adhesive Residue When Removing | Leaving decor on for years or removing too quickly | Lift slowly and use a hair dryer to warm adhesive as you peel. Clean any residue with a gentle remover or steam cleaner. |
| Color Fading Over Time | Sun exposure, low quality materials | Buy reputable brands. Avoid placing decor in direct sunlight when possible. |
Surfaces like brick, heavily textured plaster, and unfinished wood are generally not suited for peel and stick products. The adhesive needs a smooth, clean surface to grip, otherwise it may fail within weeks.

Another consideration: Heat and humidity (such as bathrooms) can cause weakening if products aren’t designed for those environments. Always check manufacturer guidance before applying to kitchens or baths.
Resources like the review of the McCulloch MC1385 Deluxe Canister Steam Cleaner can further help with safe prep and clean-up, so you can avoid most issues without using any harsh chemicals.
Conclusion
Peel and stick decor is a practical, adaptable way to refresh your space. With the right approach—careful prep, patient application, and high-quality products—you can create dramatic transformations for your home or apartment, often in a single afternoon. Be realistic about surface compatibility and don’t rush the prep stage. For deep surface cleaning, especially before or after applying your new decor, a multipurpose household cleaning tool is a worthwhile addition.
If you’re looking to revamp your space with peel and stick decor, start small, follow these steps, and enjoy the flexibility. Ready to get started? Pick your favorite pattern and take the leap today—your walls will thank you.
FAQ
Will peel and stick decor damage my walls or paint?
In most cases, peel and stick decor can be removed without damaging clean, painted drywall or smooth finishes. However, poorly prepped or fragile surfaces may be affected, especially if the paint is old, flaking, or not fully cured.
How do I clean surfaces before applying peel and stick products?
Use a gentle cleaner or a household steam cleaner to remove dust and oils. Wait until the surface is fully dry before you begin application.
Can I reuse peel and stick decor after removal?
Most peel and stick decor is designed for single use. Once removed, the adhesive may not stick as well if reapplied, and the product itself may stretch or tear during removal.
What surfaces are best for peel and stick decor?
Peel and stick decor works best on smooth, clean, and non-porous surfaces like painted drywall, glass, metal, and sealed wood. Textured, dirty, or crumbly surfaces often cause problems with adhesion.
How long does peel and stick decor usually last?
Most high-quality peel and stick decor can last from one to five years, depending on the environment (sunlight, humidity, cleaning routines) and the product’s material quality.