


Peel and stick decor is changing the way people update their spaces—fast, affordable, and with zero commitment.
Key Takeaways
- Peel and stick decor offers a mess-free, budget-friendly way to update your home in hours, not days.
- Surface prep and product choice are crucial for long-lasting results and easy removal.
- Common pitfalls include improper application and product selection, but simple hacks can help you avoid these issues.
- The Core Concept of Peel and Stick Decor
- Step-by-Step Guide for Peel and Stick Decor
- Advanced Analysis & Common Pitfalls
- Conclusion
- FAQ
The Core Concept of Peel and Stick Decor
Peel and stick decor refers to self-adhesive home accessories, including wallpapers, tiles, backsplashes, wall decals, and more. Unlike traditional home improvement products, these stick directly onto clean surfaces with a pressure-activated adhesive. You simply peel away the backing and press onto the wall or furnishing—no glue, grout, or big mess.
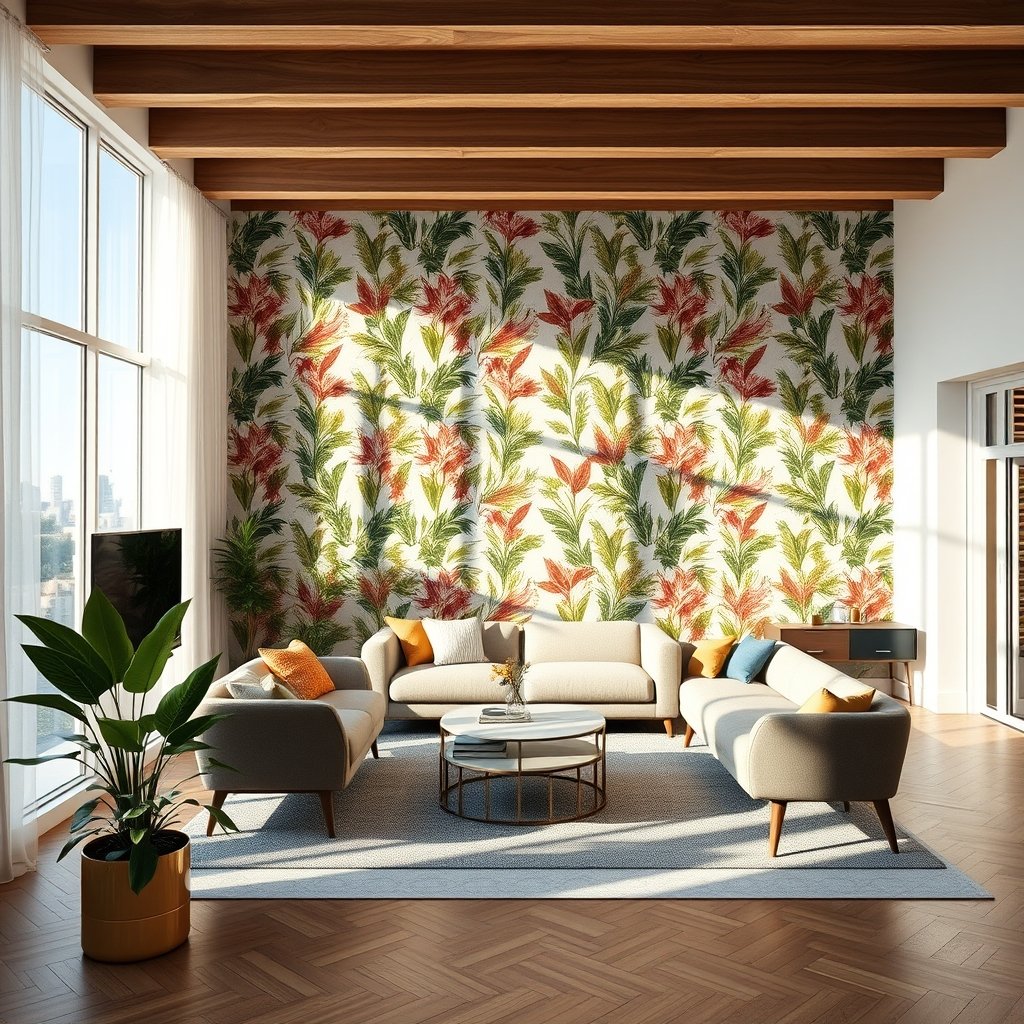
Why use peel and stick decor? It works for renters, busy families, and anyone who wants to refresh their space without commitment or risky DIY demolition. The products come in a huge selection, such as faux brick wallpaper, geometric decals, peel and stick backsplashes, and even realistic wood-look panels. Most importantly, you can remove or swap the decor at any time—usually without damaging your walls or cabinets.
The concept is simple, but making good choices matters. Surface preparation, measuring, and budget all affect your results. Proper installation methods can mean the difference between a stunning transformation and a peeling disaster.
Step-by-Step Guide for Peel and Stick Decor
Ready to transform your home with peel and stick decor? Here is a realistic process that takes you from shopping to enjoying your refreshed space.
- Choose Your Product Wisely.
- Not all peel and stick decor is the same. Research customer reviews, examine thickness, and check for waterproof or moisture-resistant options if you’re decorating kitchens or bathrooms. For trusted opinions, Architectural Digest’s guide can help clarify which wallpapers or tiles work best.
- Be sure the product suits your wall type and finish. Some adhesives work poorly on textured, dirty, or matte surfaces.
- Measure your space twice to get the right amount—plus add 10 percent for mistakes or pattern matching.
- Prep Your Surface Meticulously.
- Clean walls using a mild degreasing soap and allow to dry completely. Even dust can prevent the adhesive from sticking.
- Fill holes and smooth bumps for the flattest possible application—especially behind peel and stick countertops or backsplashes.
- Test a small section before tackling the whole project.
- Apply Carefully and Smoothly.
- Start at a top corner, peeling the backing a few inches at a time as you work downward.
- Use a squeegee or credit card to remove air bubbles as you go. Some products may require overlap or precise pattern matching—follow the manufacturer’s guide.
- Finishing Touches.
- Trim corners and edges using a sharp utility knife for a professional look.
- If bubbles appear after a few hours, gently puncture them with a pin and smooth the air out.
- Don’t forget baseboards and transitions—sometimes a bead of clear caulk will make the edge look seamless, especially in high-moisture areas.
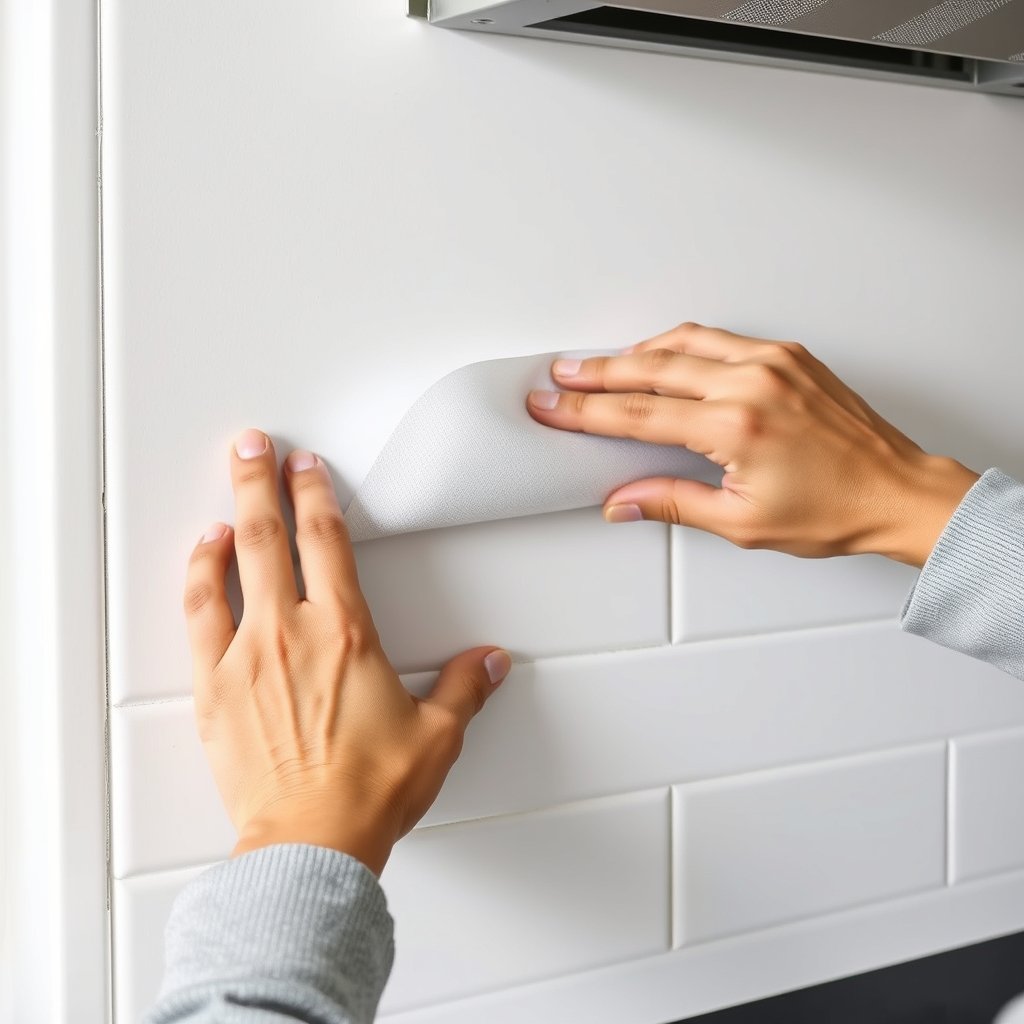
Be aware that the lifespan of peel and stick decor depends on both the product and your installation. With good prep, most products last from 2 to 6 years before showing significant wear or lifting.
Want specific results or advanced styles, such as a faux tile shower wall? Check guides like Family Handyman’s peel and stick tile tutorial for expert-level techniques and care.
If you are decorating a rental or plan frequent changes, look for products with a reputation for easy residue-free removal, as discussed in our removable wallpaper for renters guide.
Advanced Analysis & Common Pitfalls
Peel and stick decor is not foolproof. Here’s what can go wrong and how to avoid it:
| Potential Problem | Why It Happens | How to Avoid or Fix |
|---|---|---|
| Poor adhesion/peeling corners | Surface is uneven, dusty, or oily; inadequate pressure applied during install | Thoroughly clean, allow to dry, and consider light sanding for glossy areas |
| Bubbles and wrinkles | Backing removed too quickly, not enough smoothing as you go | Work slowly—only peel a few inches at a time; smooth with a squeegee in one direction |
| Difficulty removing without damage | Adhesive is too strong or wall paint is uncured/poor quality | Test a small section first; soften adhesive with warm air (hairdryer) during removal, as Good Housekeeping explains |
| Visible seams or mismatched patterns | Incorrect measurements or installation; buying too little product | Add extra to your order; overlap patterns slightly and install with sufficient alignment time |
| Product failure in humid areas | Non-moisture-resistant product used near sinks/showers | Always choose waterproof or water-resistant options; check manufacturer’s suitability for bathrooms and kitchens |
Advanced users sometimes get creative with peel and stick—like using it for closet interiors or vinyl-wrapped furniture makeovers. For these applications, extra care is required to ensure edges stay down and the product looks intentional.
Other important tips:
- Don’t install over lead paint or crumbling plaster—consult local regulations or a professional for safety.
- For tricky wall textures, test and consider using a wall primer for peel and stick decor to improve adhesion.
- Small repairs are possible. Keep scraps for patching minor tears.
Conclusion
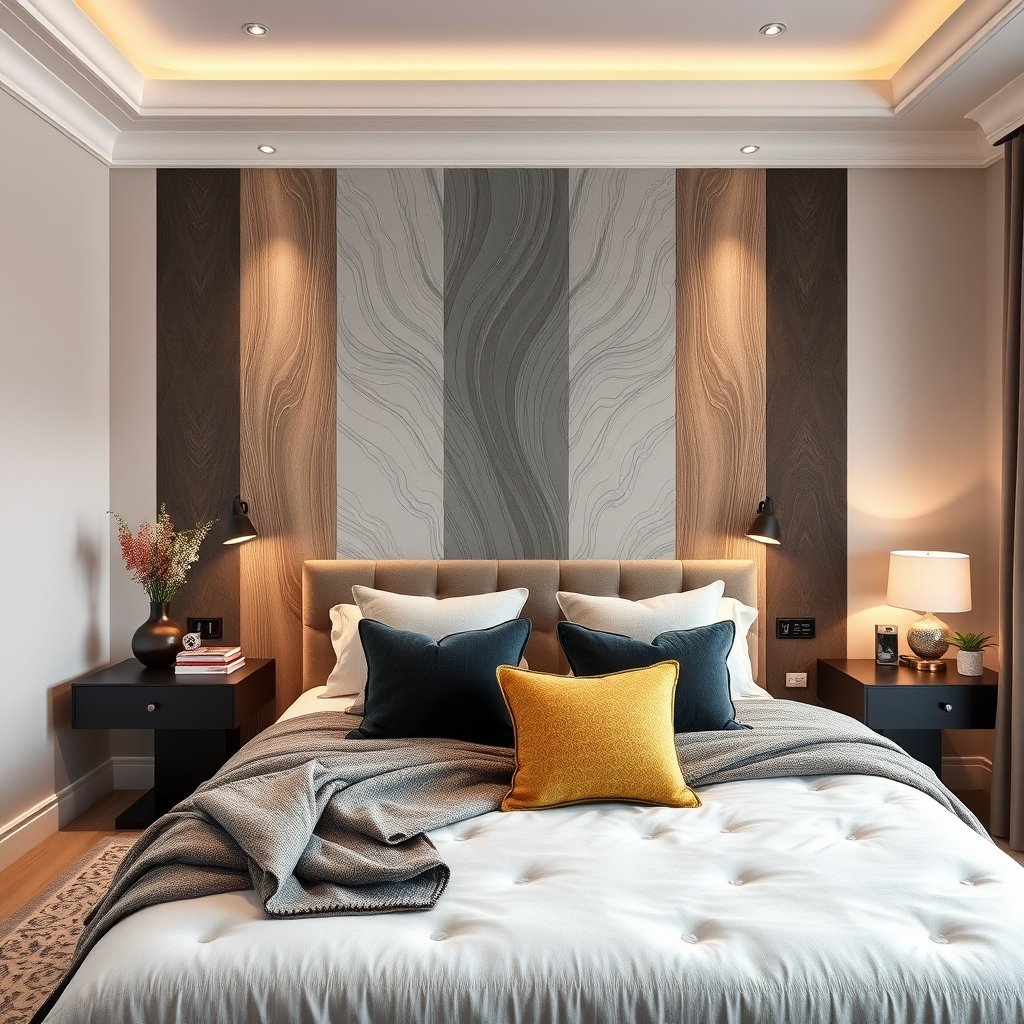
Peel and stick decor unlocks quick design changes—without the mess or the high cost of renovation. Just remember, proper prep and choosing the right product are essential for stress-free installation and easy removal. If you’re looking for realistic upgrades with minimal effort, peel and stick decor is a practical solution.
Ready to get started? Explore our expert best peel and stick wallpaper roundups for curated product recommendations, or check installation guides tailored to your project on our website. Give your home a fresh look with zero regret.
FAQ
Does peel and stick decor really come off cleanly?
In most cases, yes—especially when applied to smooth, painted walls in good condition. Removal is easiest if you use a hairdryer to warm the adhesive and pull slowly from a top corner. Rough or uncured walls may show some damage, so always spot test before decorating large areas.
How long does peel and stick decor last?
Most products last two to six years, depending on traffic, humidity, and how well the surface was prepped. Some higher-end options can last longer, especially if they’re not in sunlight or wet zones.
Can peel and stick decor be reused?
No. Once removed, adhesives lose strength and most products cannot be repositioned or reused in another location. Some static-cling window films are an exception.
Will it work on textured or uneven walls?
For best results, peel and stick decor should be used on smooth, clean, and dry surfaces. Light texture might be okay for some wallpapers, but heavy texture or rough surfaces usually prevent proper adhesion.
Is peel and stick wallpaper waterproof?
Some are, but not all. Always check the manufacturer’s information. For kitchens, baths, or laundry rooms, choose water-resistant products and follow installation tips for humid areas.