


### Blog Post:
Peel and stick decor is transforming the way people refresh their homes without committing to permanent changes or hiring professionals. If you have been searching for quick, creative, and renter-friendly decorating ideas, this trend could be the solution you need.
Key Takeaways
- Peel and stick decor offers a simple, low-commitment way to transform your living space fast.
- Correct surface preparation and careful application are critical to achieving a long-lasting finish.
- Not every surface is compatible. Know the potential pitfalls and product limitations before starting.
- What Is Peel and Stick Decor and Why Use It?
- Step-by-Step Guide to Installing Peel and Stick Decor
- Advanced Analysis & Common Pitfalls
- Conclusion
- Frequently Asked Questions
What Is Peel and Stick Decor and Why Use It?
Peel and stick decor refers to a range of decorative products—like wallpapers, tiles, and decals—that use an adhesive backing for easy, mess-free application. Unlike traditional decorating materials, peel and stick items don’t require glue or nails, making them especially popular with renters and people who like to change up their décor frequently.
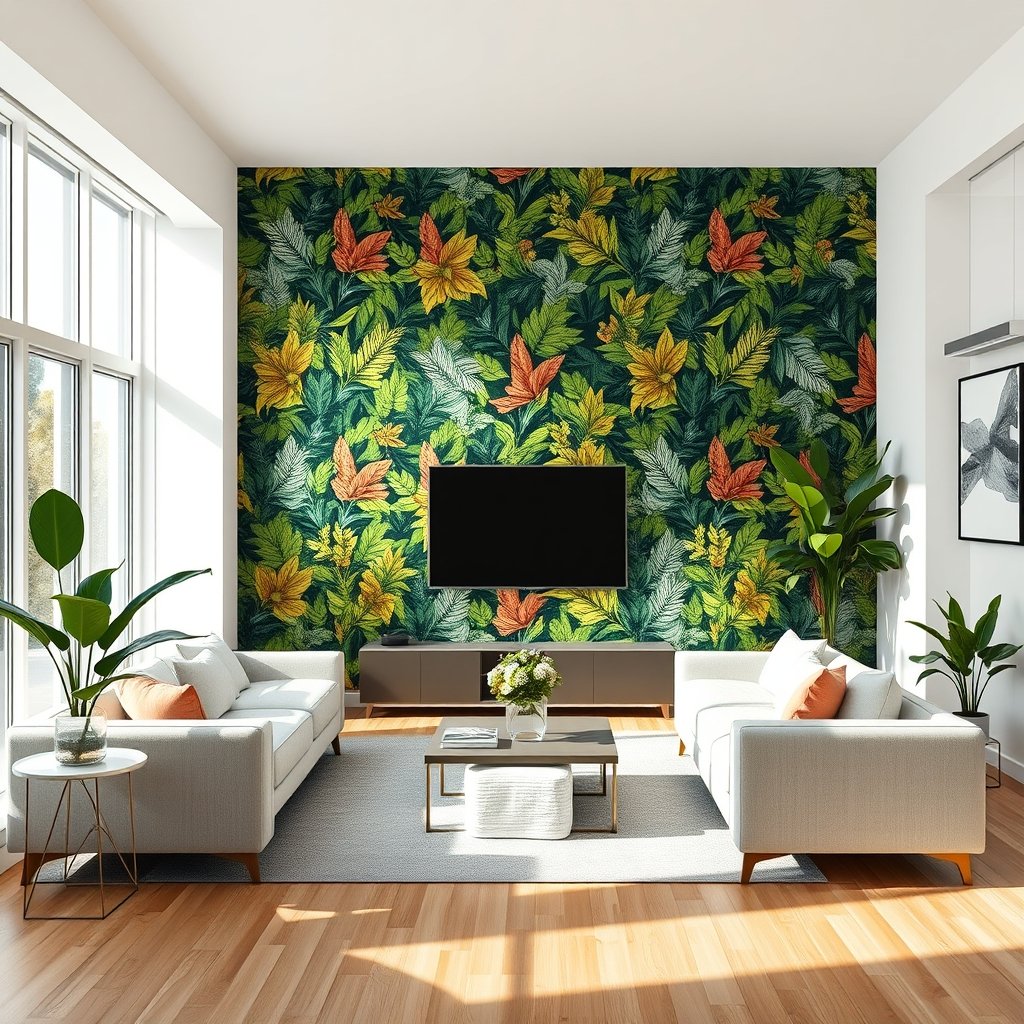
There are now hundreds of options for peel and stick decor wallpapers, faux tile backsplashes, vinyl decals, and even decorative window films. The main draw is convenience. Many popular options can be found at local DIY stores or online. For a deeper dive into what kinds of products and designs are currently trending, you might want to check out Architectural Digest.
This approach is excellent for temporary refreshes or for spaces where making big changes is not practical. For more inspiration, see how other renters have tackled their projects in our guide Budget-Friendly Bedroom Upgrades.
Step-by-Step Guide to Installing Peel and Stick Decor
Before you start, gather all necessary tools: a ruler or level, sharp scissors or a utility knife, a squeegee or credit card for smoothing, and a clean, dry cloth. It’s important to read the manufacturer’s preparation instructions—many projects fail because of skipped steps.
Step 1: Prepare the Surface. Wipe down walls or surfaces with mild soap and water, then allow to dry completely. Slick, clean surfaces work best.
Step 2: Measure and mark. Use a straight edge and light pencil marks to outline placement, especially for large panels and repeating patterns.
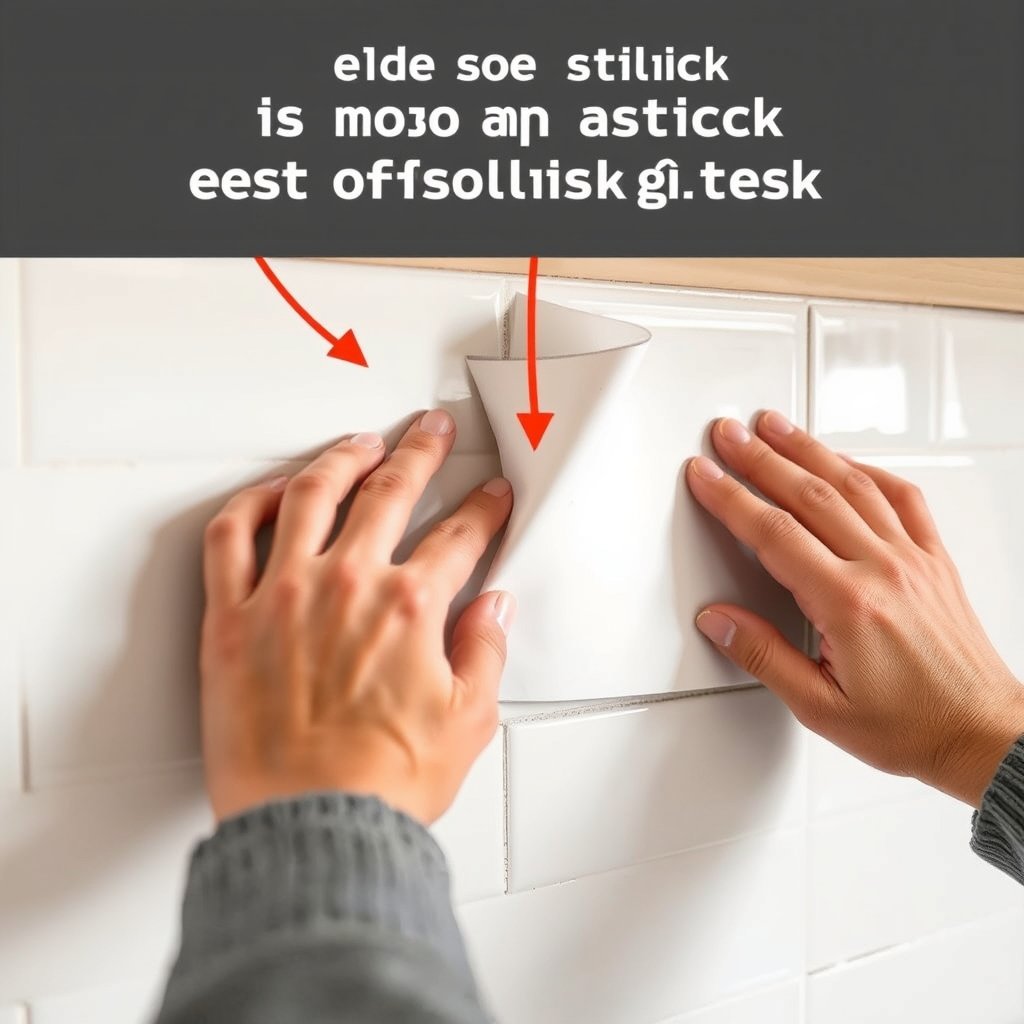
Step 3: Peel and Apply. Start at the top of the panel or decal. Slowly peel back the backing while pressing the adhesive side onto the wall. Use a smoothing tool to push out any air bubbles. Straight lines are easier when working with a partner, especially for large wallpaper sections.
Step 4: Trim Edges and Match Patterns. Use a sharp knife or scissors for clean edges. If your design has a repeating pattern, match up seams carefully.
Step 5: Allow to Cure. Manufacturers often advise waiting 24 hours before cleaning or touching the applied decor. This helps the adhesive to bond fully—especially in humid spaces like bathrooms. For tips on avoiding common mistakes, browse our article How to Fix Peel and Stick Wallpaper Mistakes.
For more advanced DIYers, layering decals or mixing different materials can create a designer look on a budget. See a gallery of creative uses at House Beautiful.
Looking for more ways to refresh a space quickly? Check out our feature in Home Office Upgrade Ideas for peel and stick solutions that fit work-from-home needs.
Advanced Analysis & Common Pitfalls
Peel and stick decor sounds effortless, but there are real challenges. Not every wall, countertop, or surface is truly “stick-ready.” Moisture, texture, and finish can all affect both sticking power and removal ease. Here’s what research and user experience have confirmed:
| Issue | Symptoms | How to Prevent |
|---|---|---|
| Moisture or Humid Bathrooms | Edges peeling, adhesion loss after a few weeks | Use decor labeled “water resistant.” Ventilate well, especially in bathrooms and kitchens. See more in Bathroom Peel and Stick Tile Survival Guide. |
| Rough/Uneven Surfaces | Decor won’t lay flat, air bubbles keep reappearing | Apply only to smooth, painted drywall or flat furniture surfaces. Sand rough spots and clean thoroughly before applying. |
| Poor Surface Cleaning | Random peeling, decor falling off overnight | Remove all dust, grease, and residue. Check with a clean white cloth before applying. |
| Difficult Removal | Paint peeling, sticky residue, damaged drywall | Gently heat with a hair dryer before peeling off. Test a small area and go slowly. See tips at The Spruce. |
| Mismatched Patterns/Colors | Visible seams, color gap between sheets | Buy extra material to allow for pattern matching. Open all packages and lay out sheets before sticking. |
Another concern is long-term durability. While some premium peel and stick decor lasts for years, less expensive products might begin to peel or fade after just a few months. Always check reviews and third-party tests. If you want unbiased product reviews, Wirecutter maintains a list of top-rated peel and stick wallpapers.
Some paints and wall textures repel adhesives, especially highly glossy or oil-based finishes. Remember, even though “removable” is a selling point, results vary—a simple scratch test on paint before installation is a good extra step. Curious about the proper surface types? Our guide Paint or Peel and Stick Wallpaper can help decide what’s best for your situation.

Conclusion
Peel and stick decor makes home refreshes possible for anyone—no power tools required and no damage left behind. The right surface preparation, careful application, and knowledge of the product’s limits can help your projects turn out looking polished and professional.
Always read instructions and don’t hesitate to use sample pieces before committing. Ready to try out a new look? Shop for peel and stick decor and give your living space the upgrade it deserves. For more DIY decorating inspiration, browse our collection of Instant Room Makeover Ideas.
Questions or tips? Share your experiences in the comments and help others create beautiful spaces with confidence.
Frequently Asked Questions
Does peel and stick decor work on textured walls?
It rarely works well. Peel and stick products adhere best to smooth, clean, and dry surfaces. On heavily textured walls, they may peel quickly or show air bubbles.
How do I remove peel and stick decor without damaging the wall?
Use a hair dryer to warm the adhesive as you peel slowly from the edge. Residue can be removed gently with mild soap and water. For detailed removal steps, see How to Remove Peel and Stick Wallpaper.
Can peel and stick decor be reused?
Most products are designed for a single use. Some decals and premium wallpapers may be repositioned during initial application, but reusing them later is not usually recommended.
How long does peel and stick decor typically last?
With proper application and care, high quality products can last 3–5 years or more. Cheaper products may peel or fade in under a year, especially in humid rooms.
Is peel and stick decor safe for renters?
Yes, provided it’s installed and removed carefully according to instructions. Test in an inconspicuous area first if you are concerned about paint peeling. Our article Best Ideas for Renter Friendly Wall Upgrades lists the safest approaches.
—